First-Touch Drills at Home: Wall and Partner Options
Soccer first touch drills at home should help you control a pass and prepare your next action, not simply stop the ball as quickly as possible. Start with gentle ground passes, a generous target area, and enough space to move without reaching furniture or other people.
This guide offers wall and partner options for beginners. The layouts and distances are suggestions, not official tests. If the basic technique is unfamiliar, begin with our first-touch lesson, then return here for a more focused practice session.
What makes a useful first touch?
A useful first touch leaves the ball where you can play it next. Sometimes that means cushioning it close to your feet. Sometimes it means guiding it a small distance into open space. A touch that stops the ball under your body is not automatically better than one that sets up a comfortable pass.
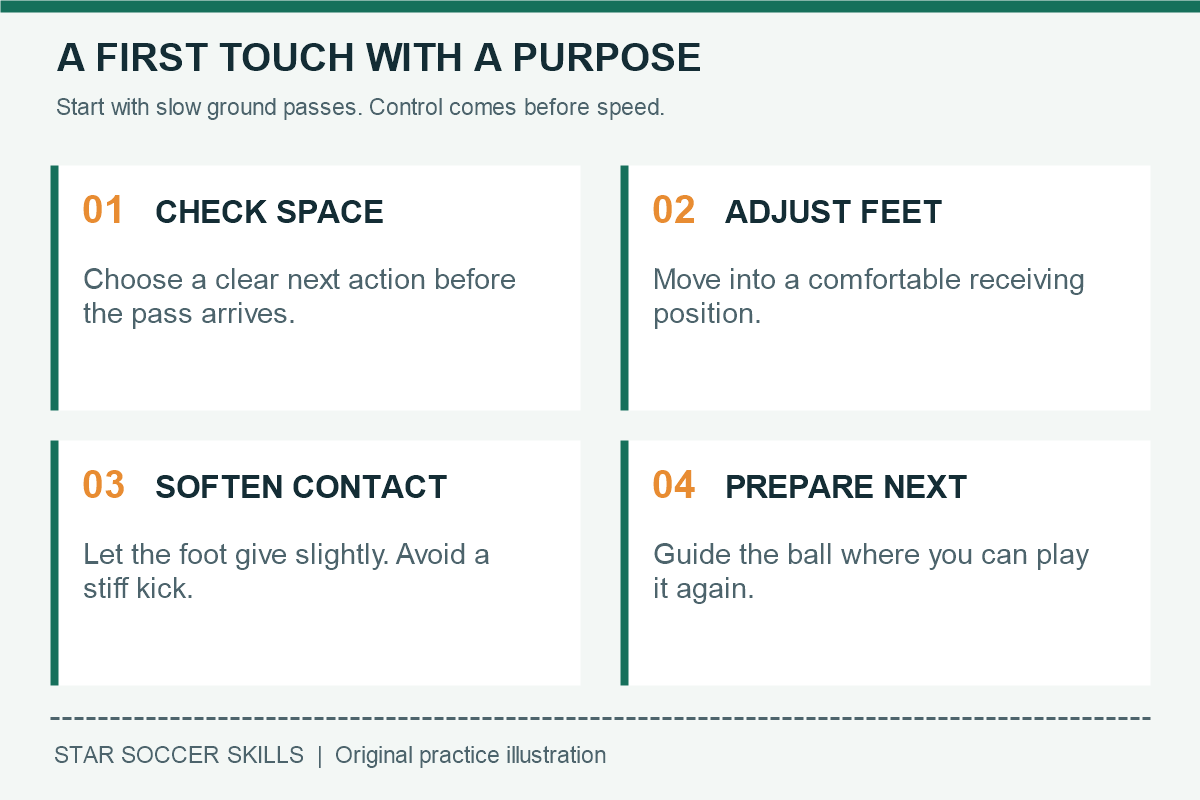
For these beginner drills, use the inside of the foot on slow ground passes. Stay balanced, adjust your feet as the ball travels, and let the receiving foot give slightly rather than meeting the ball with a stiff kick.
Choose a suitable wall or partner setup
For wall practice, use a sound wall you have permission to use, with no glass, loose objects, doors, pedestrians, or traffic nearby. The surface must produce a predictable low rebound. Do not use shared indoor walls if the activity could damage property or disturb others.
With a partner, begin about 3-4 yards apart on a flat, dry surface. Shorten the distance if either player cannot send a comfortable ground pass. A child should have suitable adult supervision. Use appropriate footwear and stop for pain, dizziness, or an unsafe surface.
| Option | Best starting task | What to check |
|---|---|---|
| Safe outdoor wall | Gentle pass, cushion, reset | Permission, reliable rebound, clear run-off space |
| Partner on open ground | Slow pass into a receiving zone | Pass weight and time for each receiver |
| No safe passing area | Slow self-roll and controlled touch | This is a preparation activity, not a replacement for receiving varied passes |
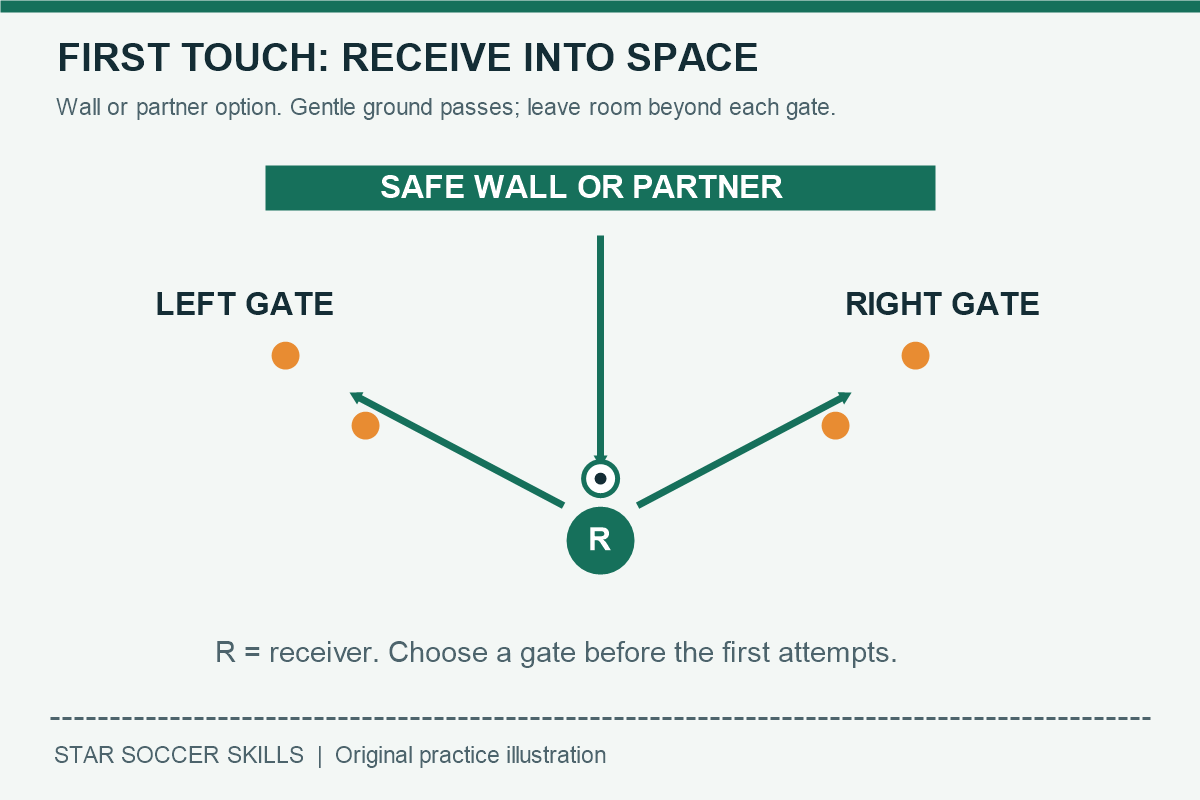
Drill 1: cushion a gentle ground pass
- Mark a comfortable receiving zone around your starting position.
- Send a soft pass to the wall, or ask your partner to pass directly toward you.
- Move your feet so the ball arrives within comfortable reach.
- Receive with the inside of the foot, letting it give slightly on contact.
- Pause, check the ball is within one step, and reset before repeating.
Look for: a balanced finish and a ball you could pass again. If it bounces away, first reduce the incoming pass speed. If it gets trapped under you, adjust your position rather than stretching one foot further forward.
Easier: use a gentle partner roll. Harder: alternate receiving feet while keeping the pass equally slow. Begin with two sets of five comfortable attempts, with a pause between sets.
Drill 2: first touch through a side gate
Place two wide gates diagonally forward from your receiving position, one to each side, with a clear path beyond them. Use flat markers. The gates should be close enough that a gentle directional touch can enter the chosen space; do not force a long touch just to reach a marker.
Choose the gate before the pass begins. Receive across your body into that space, follow the ball, and stop it under control. Return to the starting position. With a partner, alternate who receives after several attempts.
Coaching cue: open your body, guide the ball, then follow. Your first touch should prepare the next action rather than become a shot at the gate. If opening your body feels awkward, work at walking pace and remove the gate until the movement is comfortable.
Drill 3: receive, set, and pass
Receive a gentle pass, use the first touch to set the ball a small distance ahead and slightly to one side, then return it with your second touch. A beginner may take an extra settling touch; control matters more than enforcing a two-touch rule too early.
Start with the same receiving and passing foot, then explore receiving with one and passing with the other. Use our passing lesson if the return pass is inaccurate. Reducing the distance often makes the whole sequence smoother.
Drill 4: add a simple awareness cue
With a partner, begin by naming your gate before the ball is passed. Once that is easy, the passer can call left or right while the gentle pass travels. Give the receiver enough time; this is not a surprise reaction contest. Follow the first touch into the chosen clear area.
Practicing alone? Choose the next gate, glance toward it, and then pass to the wall. This rehearses checking your surroundings but does not recreate choosing under real defensive pressure. Our positioning and tactics lesson adds scanning and support in a game-related setting.
Put the drills into a short session
Try two minutes of easy movement, three minutes of cushioning, one minute of rest, three minutes of directional touches, one minute of rest, three minutes of receiving and passing, and two minutes to finish comfortably and record a note. That is a 15-minute outline, including breaks. Stop sooner when needed.
Video: first-touch technique examples
5 Essential First Touch Drills Every Player Should Master by Become Elite provides an external demonstration of first-touch practice. It is not a custom beginner home session: adapt the pace, distance, and exercises to your ability and available space.
A simple way to track progress
Use ten similar passes and count how many first touches leave the ball within one step or inside your chosen gate. Record each foot separately. Keep the ball, surface, distance, and pass speed as consistent as possible when comparing sessions.
Do not treat the number as an age benchmark or selection score. It is a personal record. If one foot needs more time, reduce the challenge on that side instead of speeding through unsuccessful repetitions.
Frequently asked questions
Is wall practice better than practicing with a partner?
Neither is always better. A wall offers repeatable returns but depends on a safe surface. A partner can vary the pass and communicate. Use the option that lets you practice comfortably and safely.
Should your first touch always go forward?
No. The useful direction depends on space, pressure, and your next action. These drills introduce side gates because they encourage a purposeful touch rather than a fixed direction.
Can you practice with a soft indoor ball?
Yes, if the space and surface are suitable, but it may roll and rebound differently. Do not directly compare scores from different ball types. Avoid wall rebounds indoors when noise, damage, or safety is a concern.
For a broader foundation, follow the complete soccer learning path. General coaching context is available through the FIFA Training Centre grassroots resources; this article’s layouts and timings are original suggestions, not official standards.
Leave a Reply