U8 Soccer Drills: Simple Games for Ball Control and Passing
The best starting point for U8 soccer drills is a task that children understand quickly and can repeat with plenty of involvement. Ball control, passing, and simple choices can fit into the same session without long lines, complicated scoring, or constant instructions from the coach.
These four original activities move from individual control to a small game. Use them as a menu, or follow the 35-minute outline below. U8 is a competition age label whose cutoff depends on the league, not a guarantee of coordination, experience, or confidence. Adapt every activity to the children in front of you.
Prepare the area and explain one idea
Check your club’s supervision, safeguarding, weather, first-aid, and equipment procedures. Use age-appropriate balls, suitable footwear and protective equipment, safe markers, and properly installed goals. Keep children from climbing or hanging on goals. Inspect the surface and leave clear space beyond the activity boundaries.
Give children a way to ask for a break. Water, rest, and reassurance are available whenever needed, not only when the table says so. Stop for pain, dizziness, distress, or unsafe conditions. This beginner plan does not include heading, slide tackling, or hard shooting.
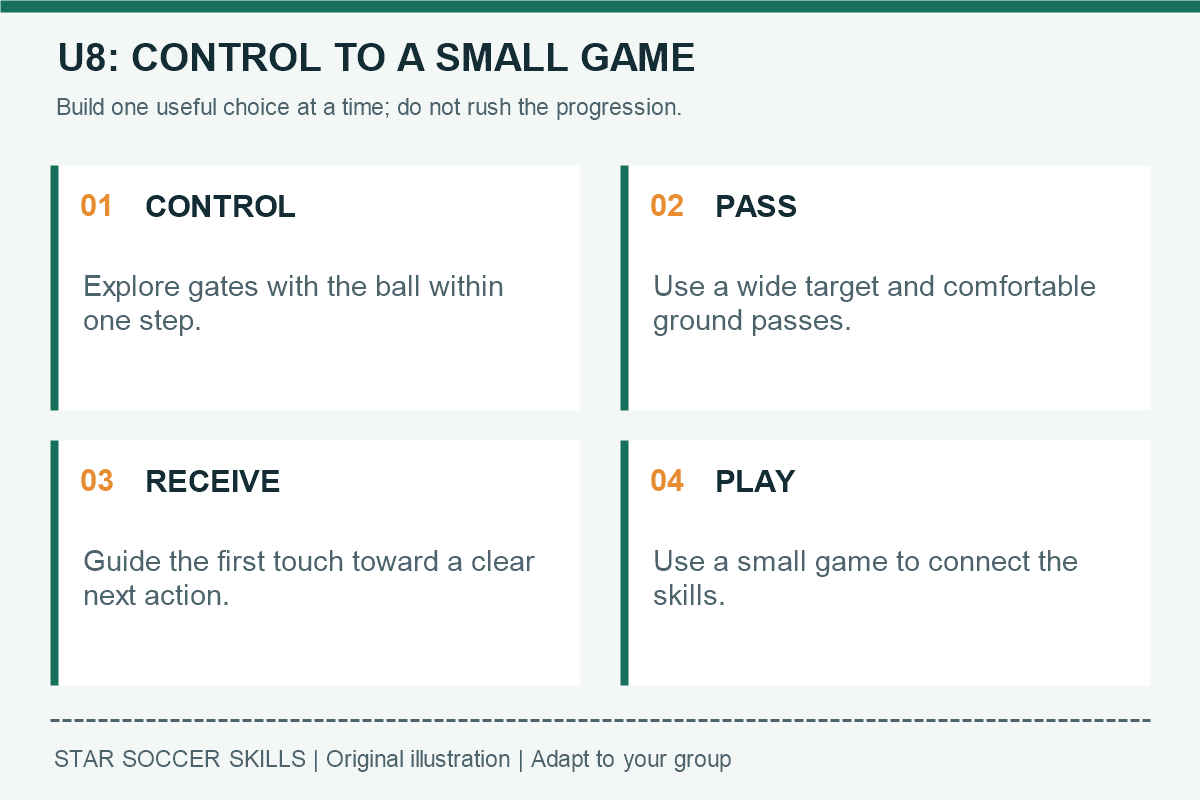
Set one theme: “Control the ball, then choose your next action.” Demonstrate briefly, let players try, and add another detail only when it helps. Review our ball-control lesson before the session if you want simple explanations of the foot surfaces.
Four U8 drills and their progressions
| Activity | Beginner version | Optional next step |
|---|---|---|
| Gate explorer | Dribble through any clear wide gate | Choose a different route before moving |
| Partner gate passing | Stop, look, and pass through a wide gate | Receive into space before returning |
| Receive and choose | Choose a side before a gentle pass | Use an early spoken or visual cue |
| 3v3 end-zone game | Dribble under control into the scoring area | Allow a controlled pass to a moving teammate there |
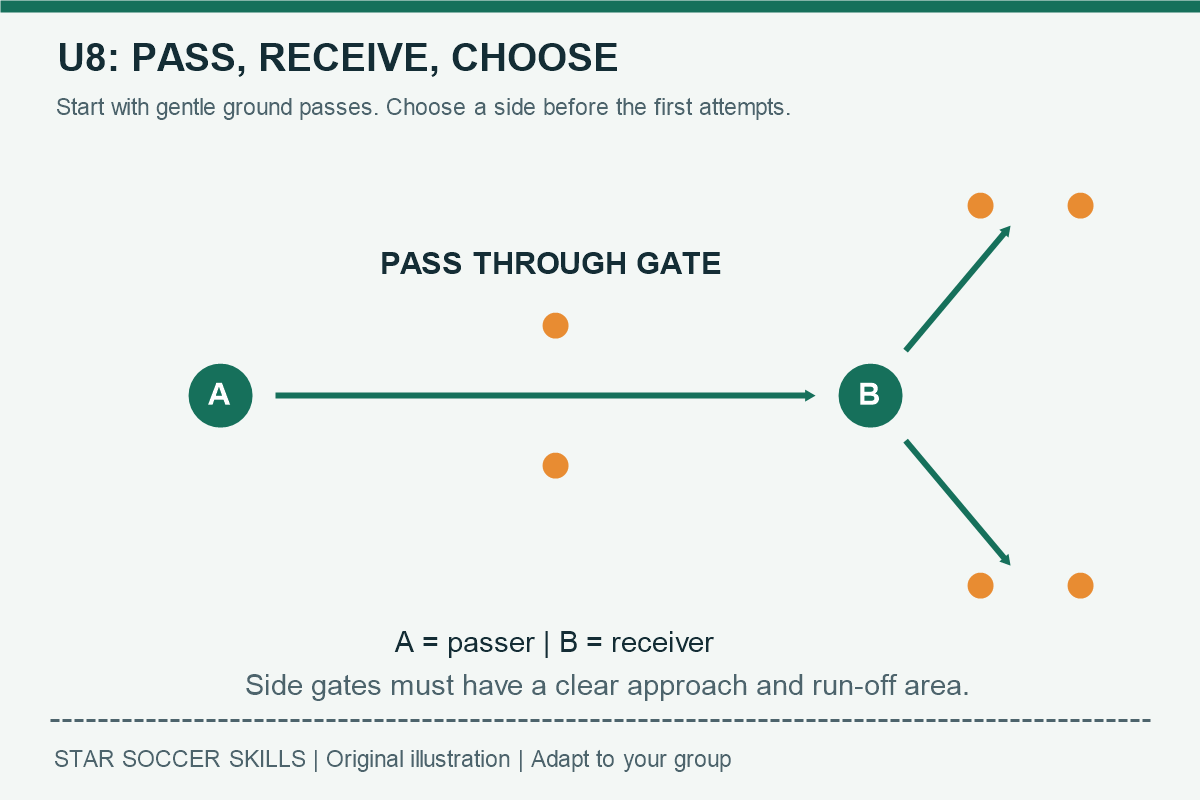
1. Gate explorer: keep the ball within reach
Give each child a ball in a generous marked area. For around six to eight players, a roughly 15-by-15-yard space can be a starting point, but change it if players repeatedly collide or cannot find clear routes. Spread several wide gates around it using safe markers.
Children dribble through an unoccupied gate and choose another. Ask them to keep the ball within a comfortable step and use brief glances to find space. There is no need to sprint, race a teammate, or visit gates in a fixed order.
Make it easier: use fewer, wider gates and a walking pace. Progression: ask players to plan their next gate before leaving the current one. If the group bunches up, rearrange the gates rather than simply telling everyone to look up more.
The dribbling lesson explains how small touches help a player change direction without losing the ball.
2. Partner gate passing: accuracy before distance
Put players in pairs, initially about 3-5 yards apart. Place a wide marker gate between each pair, with separate passing lanes and space for missed passes. One player passes along the ground through the gate; the partner controls, looks, and returns it.
Use manageable pass speed and allow extra touches. Explain the inside-foot pass with one cue such as “aim through the window.” A receiving child can move to meet the pass rather than wait with their feet fixed.
Make it easier: shorten the distance and widen the gate. Progression: receive slightly to one side before the return. Do not narrow the gate and increase distance at the same time. Give partners five comfortable attempts each, pause, and change one detail.
For technique, link practice back to our passing lesson. Match partners thoughtfully and adapt the task when experience differs.
3. Receive and choose: a first touch with a purpose
Keep the pairs and add two wide side gates near the receiving player. The receiver chooses a gate before the passer sends a gentle ground pass. With the inside of the foot, the receiver guides the ball toward the chosen clear area, follows it, and stops.
Switch roles regularly. The first touch should be comfortable and purposeful, not a powerful kick at the gate. Shorten the setup if children need to lunge or chase. Our first-touch lesson explains cushioning and receiving into space.
Make it easier: use one gate or begin with a gentle roll. Progression: the passer gives a clear early cue as the ball travels. Allow enough time to respond; the aim is a simple choice, not catching the receiver out. Combine words with visible signals when helpful.
4. A 3v3 end-zone game: connect the skills
Make a small field with an end zone at each end. For six players, roughly 18 by 14 yards plus suitable clear margins may be a starting layout, not a prescribed field size. Change the space so players have useful options without repeatedly kicking the ball far away.
A team scores by dribbling the ball under control into its attacking end zone. A coach can define control as entering with the ball within a playable step, then stopping comfortably inside the zone. Do not reward a long kick that merely crosses the line.
Start without a goalkeeper and use simple practice restarts agreed beforehand. These are practice conditions, not official U8 match rules. Rotate teams and directions, avoid elimination, and use short rounds with pauses. If you have more children, create another supervised small game instead of a bench that rarely rotates.
Progression: permit a goal when a teammate receives a manageable pass while moving into the end zone. Keep the receiver inside the safe area. Discuss support briefly using our teamwork lesson, then return to play.
A 35-minute session using the four activities
Allow three minutes for a welcome and easy movement, six for gate explorer, two for water and transition, six for partner passing, two for rest, six for receive and choose, two for setting up the game, six for short end-zone rounds, and two for a calm finish. That totals 35 minutes, including breaks. It is an outline, not a requirement to keep working through fatigue or distress.
Video: ball-control technique reference
10 EASY Ball Mastery Exercises For Beginners by 7mlc is an external technique demonstration. It is not a U8 curriculum or this exact session. Preview it and select only suitable movements; slow the pace rather than expecting children to match the demonstrator.
Frequently asked questions
Should every child complete the same progression?
No. Keep the same overall activity while adjusting space, pass speed, or rules. Discuss access needs appropriately with the child, guardian, and club. A player can succeed with a simpler version without being singled out.
How do I tell whether a drill is working?
Look for involvement, manageable challenge, and children beginning to use the intended idea. Notice whether more players find space or prepare a return pass. Avoid treating a session score as an official age benchmark.
What if the group only wants to play a match?
Use the small game earlier, observe one problem, and briefly return to a related activity. Keep instruction short and let the game help explain why a skill matters.
Explore our small-sided games lesson and complete learning path. General source context: FIFA Training Centre grassroots resources. The layouts, drills, and timings here are original adaptable suggestions.
Related youth practice plans
- U6 Soccer Practice Plan for First-Time Coaches
- U10 Soccer Practice Plan: Skills and Small-Sided Games
Optional home practice guides
For a suitable home setting with guardian permission and supervision, these related guides offer additional activities. They are optional, not homework requirements.
- Small-Space Soccer Dribbling Drills for Beginners
- Two-Player Soccer Passing Drills: Accuracy and Movement
[…] U8 Soccer Drills: Simple Games for Ball Control and Passing […]