U6 Soccer Practice Plan for First-Time Coaches
A useful U6 soccer practice plan gives children plenty of chances to touch the ball, explore simple movements, and enjoy playing together. You do not need a long list of instructions. A clear space, a few short games, and a calm adult who can adapt the activity are a better starting point.
This original 30-minute outline is for first-time coaches working with a small beginner group. It includes transitions and water breaks, not 30 minutes of continuous exercise. U6 eligibility depends on your league’s age cutoff; children in the same group can have very different needs. Adjust the plan to the actual players rather than expecting an age label to describe their ability.
Before practice: safety, equipment, and one goal
Pick one simple goal: “Keep the ball close enough to stop it.” Introduce it with a short demonstration, then let children try. Our soccer basics lesson can help you explain the field and the idea of playing fairly without turning the session into a lecture.
- Use one age-appropriate ball per child for the individual games where possible. Check your league or club’s equipment guidance.
- Use flat markers or safe cones and securely installed, age-appropriate goals. Never let children climb or hang on goals.
- Check for holes, slippery areas, debris, obstacles, and enough clearance beyond the playing boundary.
- Follow your club’s safeguarding, adult-supervision, first-aid, footwear, and protective-equipment requirements.
- Know how to contact a parent or guardian and follow your organization’s emergency and weather procedures.
Offer water and rest whenever needed, not only at the scheduled break. Stop an activity for pain, dizziness, distress, unsafe contact, or an unsuitable surface. Do not include heading, slide tackles, or hard shots in this beginner session. Ask guardians about relevant access needs through your club’s normal process, without discussing private information in front of the group.
The 30-minute U6 practice schedule
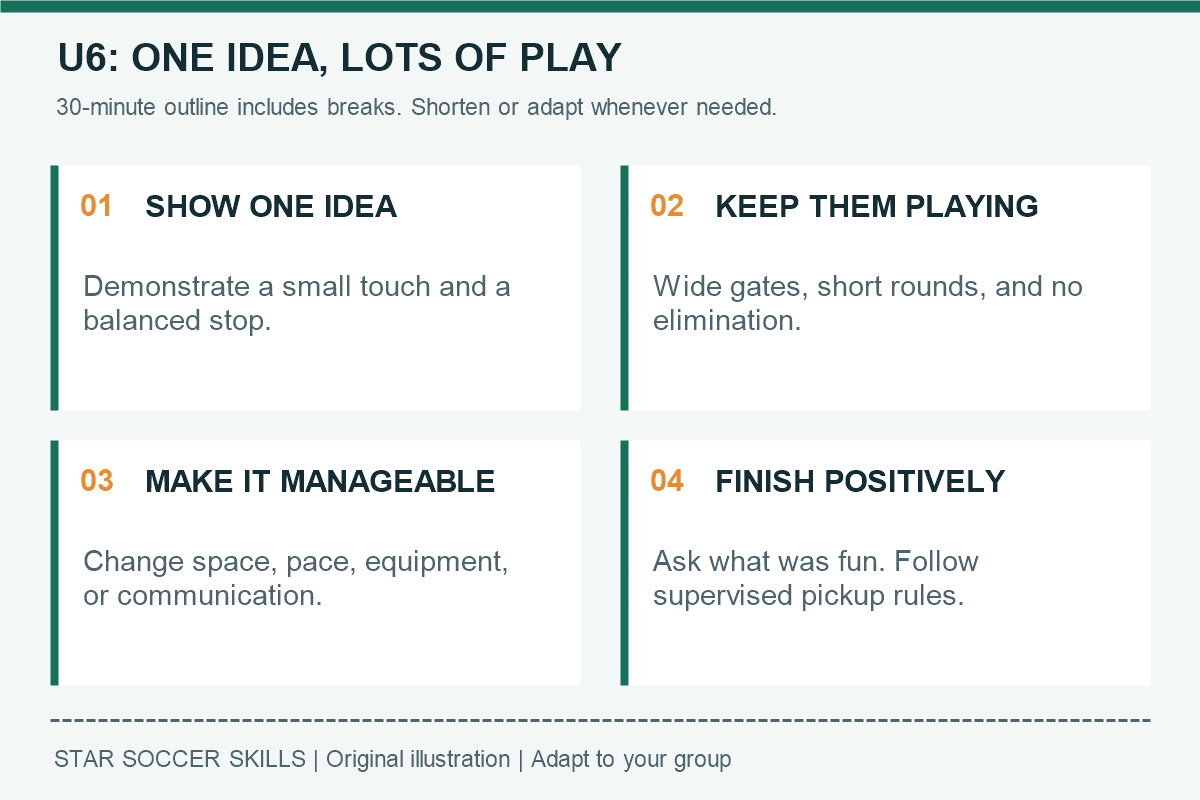
For roughly six to eight beginners, prepare a generous area that lets everyone move without repeated collisions. If the group is larger, split into supervised smaller activities rather than adding a long queue. The example uses a roughly 12-by-12-yard control area, but change it to fit the players and venue.
| Time | Activity | Coach’s focus |
|---|---|---|
| 0-3 minutes | Welcome, boundary walk, and gentle movement | Show where to play and how to stop |
| 3-9 minutes | Traffic-light dribbling | Small touches and a balanced stop |
| 9-11 minutes | Water, rest, and a quick demonstration | Check comfort and understanding |
| 11-17 minutes | Find an open gate | Look for clear space |
| 17-19 minutes | Water and mini-game setup | Keep transitions supervised |
| 19-27 minutes | Short 2v2 or 3v3 games, with pauses | Include everyone and restart calmly |
| 27-30 minutes | Easy movement, reflection, and handover | Finish positively and follow pickup rules |
Game 1: traffic-light dribbling
Give each child a ball and ask everyone to spread out. Explain just two cues first: green means gentle dribbling, and red means stop the ball and stand balanced. Demonstrate a light sole stop without stamping or standing on the ball. Start at walking pace.
Call the cues with enough time for children to react comfortably. A player who misses a cue simply resets and continues. There is no elimination and no need to identify the “last” child. Once the group understands, yellow can mean smaller, slower touches.
Make it easier: let children stop the ball completely before the next cue. Use spoken cues with visible signals rather than relying only on colors. Challenge: ask children to change direction into open space before restarting, not run faster.
Use one cue such as “little touches” rather than correcting several body positions at once. The beginner dribbling lesson offers a more detailed explanation for the coach to read beforehand.
Game 2: find an open gate
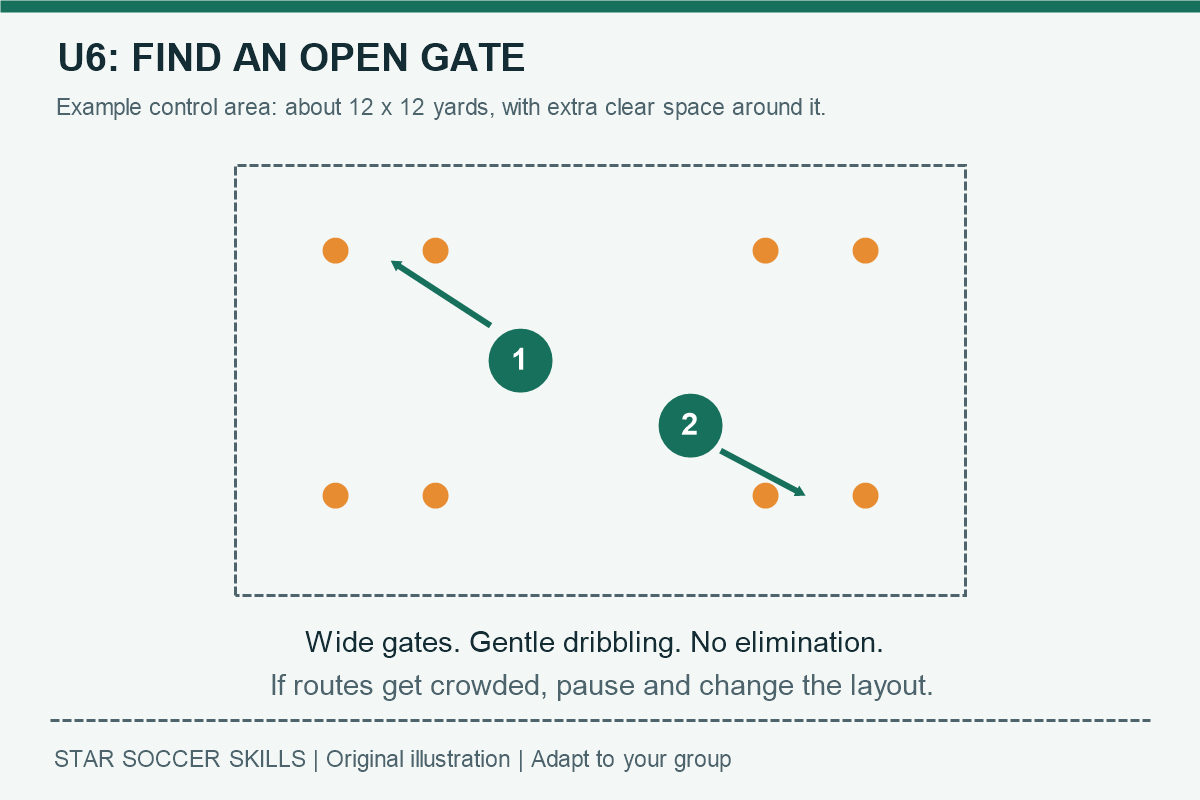
Place several wide gates around the same area, leaving clear paths between them. Children dribble through any unoccupied gate, then find another. Ask them to look for space rather than follow the same child around the field.
A gate can begin about two yards wide, then change to suit the group. Avoid crossing routes that funnel everyone through the middle. If players bunch together, pause, spread the gates farther apart, and demonstrate waiting or choosing another route.
Make it easier: choose a nearby gate and walk through it. Challenge: use a different foot for the approach or choose a gate on another side. A cooperative aim, such as everyone finding one clear route, is enough; touch-count targets are optional.
Game 3: a small game with simple restarts
Move into short 2v2 or 3v3 games on an appropriately sized area. These are flexible practice formats, not a statement of official U6 match rules. Use safe cone gates if installed goals are not available, and agree how a goal is scored before beginning.
Use a simple restart suited to your club’s guidance and the players. Practice rules can differ from competition rules, so label any simplification clearly. Keep spare balls controlled beside the coach rather than scattering them where someone might trip.
Pause briefly if children need help with direction or contact. Encourage moving into space and taking turns restarting. Avoid directing every pass from the sideline. Our small-sided games lesson explains how fewer players can create more involvement.
Video ideas for the coach
Fun Drills For Kids (Volume 2) by KS Performance is an external youth-practice demonstration. Preview it yourself before using an activity with children. It is not this exact session, an official age-group standard, or a substitute for checking your venue and club guidance.
Adapt the session instead of pushing through
If a child wants to watch first, offer a calm entry point and let them join when ready with appropriate supervision. If the activity is too difficult, widen the space or remove a rule. If children seem distracted, reduce the explanation and return to a familiar game.
For access needs, agree appropriate adaptations with the child, guardian, and club. Movement mode, equipment, pace, and communication can all change. Do not make a child sit out simply because the original drill needs adjusting.
Frequently asked questions
How long should a U6 practice last?
Follow your club’s guidance and the group’s needs. Thirty minutes is the adaptable outline here, not a universal recommendation. Breaks and transitions count, and a shorter enjoyable session may be the better choice.
Should U6 children learn formations?
This plan does not require formations. Start with direction, simple boundaries, and moving into space. Avoid assigning fixed positions throughout practice.
What should I record after the session?
Note which game children wanted to repeat, whether everyone had opportunities to play, and what setup change would help next time. Do not rank children using a touch count or treat this session as a talent test.
For connected skills, use our ball-control lesson and complete beginner course. General coaching context: FIFA Training Centre grassroots resources. The session timings and layouts above are original suggestions, not federation-prescribed standards.
Related youth practice plans
- U8 Soccer Drills: Simple Games for Ball Control and Passing
- U10 Soccer Practice Plan: Skills and Small-Sided Games
Optional home practice guides
For a suitable home setting with guardian permission and supervision, these related guides offer additional activities. They are optional, not homework requirements.
[…] U6 Soccer Practice Plan for First-Time Coaches […]
[…] U10 soccer practice plan can connect ball control, passing, and decision-making without becoming a complicated tactical […]