Soccer Drills at Home Alone: A Beginner Practice Routine
Soccer drills at home alone work best when you have a clear goal, a small safe practice area, and a routine you can repeat. You do not need a full field or a powerful shot. Start with gentle touches, controlled turns, and a simple target for each session.
This beginner routine combines four skills in 15 minutes, including breaks and a short reflection. It is an original practice suggestion, not a standardized fitness test or a promise of rapid improvement. If you are new to the game, use our step-by-step soccer lessons alongside it.
Set up a safe home practice area
Choose a flat, dry, non-slip surface with enough clear space to take a step in every direction. A roughly 3-by-3-yard area is a starting point, not a requirement: make the movements smaller if necessary, but do not squeeze practice between furniture or near stairs. Allow extra clearance outside any marked boundary.
- Ball: use an age-appropriate ball. A soft practice ball may suit indoor control work, but it will respond differently from a match ball.
- Markers: use flat, non-slip markers or existing surface lines. Avoid objects that roll or become trip hazards.
- Footwear: wear footwear suited to the surface. Socks on a smooth floor are not a safe substitute.
- Supervision: children need an adult to check the area and supervise as appropriate.
Keep pets, other people, windows, and breakable items out of the practice zone. Skip wall passing unless you have permission to use a sound, suitable wall. Stop if anything hurts or you feel dizzy, and shorten the session whenever control or comfort drops.

A 15-minute beginner routine
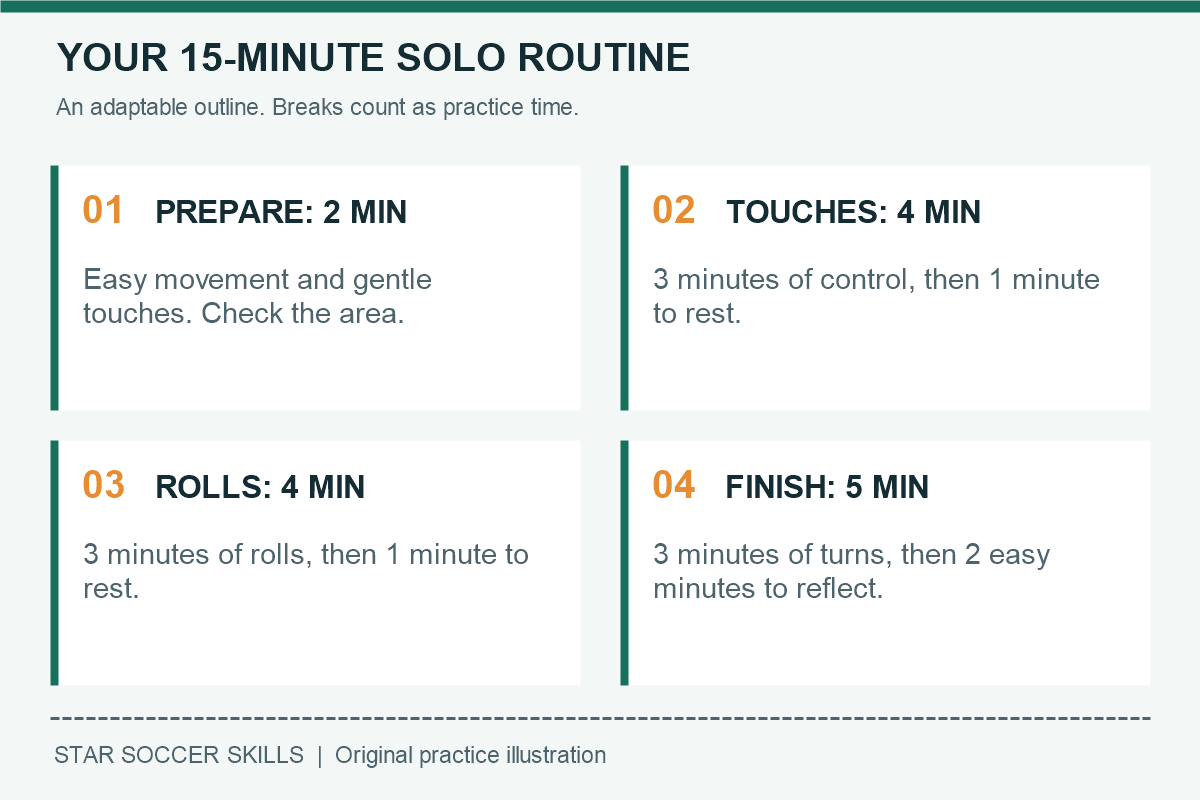
The times below add up to 15 minutes. They are a flexible planning aid: a younger child or complete beginner may prefer just one activity followed by a break. Work at a comfortable pace, not against a touch-count target.
| Time | Activity | Main focus |
|---|---|---|
| 0:00-2:00 | Walk, move comfortably, then add gentle touches | Get comfortable with the surface and ball |
| 2:00-5:00 | Inside-foot touches, with brief pauses | Keep the ball within one step |
| 5:00-6:00 | Rest and reset the area | Recover and check the setup |
| 6:00-9:00 | Sole rolls and controlled stops | Move the ball without stamping |
| 9:00-10:00 | Rest or take water if needed | Keep the session comfortable |
| 10:00-13:00 | Dribble, stop, and turn | Change direction under control |
| 13:00-15:00 | Easy movement and a short practice note | Choose one focus for next time |
Drill 1: inside-foot touches
Stand with relaxed knees and the ball between your feet. Nudge it across with the inside of one foot, then gently return it with the other. Start slowly enough that you can stay balanced without hopping. After several comfortable exchanges, pause, reset, and begin again.
Coaching cue: soft touches, ready feet. The ball should stay close enough to play again without a lunge. If it escapes, reduce the force rather than chasing a faster rhythm.
Make it easier: stop the ball between touches. Progression: briefly glance toward a safe reference point before returning your attention to the ball. Our ball-control lesson explains the underlying skill.
Drill 2: sole roll and stop
Place one foot lightly on top of a stationary ball. Roll it a short distance across your body, put that foot back on the ground, and stop the ball gently with the other foot. Keep most of your weight on your supporting leg; do not stand on the ball.
Repeat in the other direction. Aim for a smooth movement and a balanced finish. If the ball runs away, shorten the roll. If you need a wall or chair to stay upright, simplify to inside-foot touches instead of holding furniture while practicing.
Make it easier: roll and stop with the same foot. Progression: follow the roll with a small inside-foot touch into clear space. This is control practice, not a jumping exercise.
Drill 3: dribble, stop, and turn
Use two flat markers a few comfortable walking steps apart. Dribble toward one marker with small touches, stop before reaching it, then turn back into clear space. A gentle sole pull or an inside-foot turn is enough; there is no need for a dramatic trick.
Travel both ways so you practice with each foot. Keep the ball within playing distance and turn before the edge of the safe area. Learn the technique in our turning and changing-direction lesson.
Make it easier: walk and stop the ball completely before turning. Progression: vary which foot starts the turn, without increasing speed or reducing your safety margin.
Video: see the basic ball-control movements
For an external demonstration, watch 10 EASY Ball Mastery Exercises For Beginners by 7mlc. Use it to observe foot placement, then choose only movements suitable for your space and ability. The video is a separate creator’s demonstration, not this exact 15-minute routine.
Track control, not just speed
Choose one drill and count how many of ten gentle attempts finish with the ball within one comfortable step. Write down the setup, foot used, and result. Repeat with the same ball, surface, and distance next time so the comparison means something.
A different ball or a faster pace changes the task. This is a personal practice record, not a score that ranks you against other players. Once a task feels comfortable across several sessions, change only one variable: foot, direction, or available space.
Common home-practice mistakes
- Trying to train every skill: use a few repeatable activities instead of changing drills every minute.
- Rushing the weaker foot: slow down and give both feet manageable repetitions.
- Forcing passes or shots indoors: control work does not require either. Move outside for activities your room cannot safely accommodate.
- Practicing through discomfort: stop, check the surface and equipment, and seek appropriate help if symptoms persist.
Frequently asked questions
Can you improve at soccer without a partner?
Solo practice can help you become more comfortable controlling and moving the ball. It cannot fully reproduce opponents, timing a pass to a teammate, or match decisions. Combine home practice with suitable partner or small-sided play when available.
Do you need a wall?
No. The routine above uses only close control and turns. A wall creates additional passing and receiving options, but it is optional and needs a safe location and permission.
Should you do the routine every day?
There is no required daily schedule here. Consider your age, other training, enjoyment, and recovery. Short, comfortable practice that you can repeat is more useful than forcing a session when tired or sore.
Choose your next lesson
Return to the complete beginner learning path to build skills in order. When dribbling feels comfortable, try the first-touch lesson to explore how a controlled first touch prepares your next action.
Editorial note: this is an original beginner practice plan. General coaching context: FIFA Training Centre grassroots resources. Activities should be adapted to the player and setting; they are not medical or individualized training advice.
Leave a Reply